When using USB flash drives, SD cards, or external hard drives, you might encounter a confusing error message: “There is no media in the specified device”.
This article analyzes the causes of this error, outlines common repair methods, and offers prevention suggestions to help you restore device functionality or data security.
Part 1. There Is No Media in the Specified Device on Windows 11/10
“There is no media in the specified device” is a common storage device error, typically occurring when using removable disks.
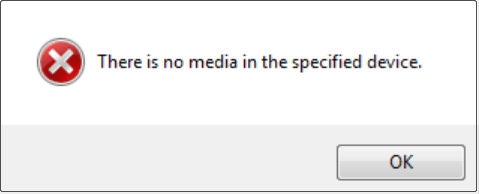
It indicates that although the system recognizes the device interface, it cannot detect the storage media or partition structure within it. That causes the device to display “no media”.
This problem may not only prevent data from being read or written, but it could also be a sign of a serious hardware or logical malfunction in the device.
Why Does the “No Media in the Specified Device” Error Occur
Many factors can cause the problem of “There is no media in the specified device on Windows 10/11”. Here are some common reasons.
- Flash memory chip damage: The device’s NAND flash memory cannot be recognized by the controller, causing the system to believe that there is no media.
- Controller firmware error: The main control chip firmware is corrupted or crashed, and the storage medium cannot be initialized.
- Partition table loss: The system cannot recognize any valid partition structure and mistakenly judges it as having no media.
- Severe file system corruption: Although the device is successfully connected, the file system cannot be mounted.
- USB interface or driver issues: Poor interface contact or driver malfunction can cause device recognition failure.
- Equipment aging or quality issues: Inexpensive or long-used equipment is more prone to this type of failure.
There are many repair methods available, but data recovery should be prioritized before proceeding to prevent data loss.
Part 2. Recover Data from the Problematic Device
When you’re unsure which recovery tool to choose, consider MiniTool Power Data Recovery. This is a powerful recovery tool that can handle data loss in various situations.
MiniTool does not rely on the integrity of the device’s file system. Even if the device displays “no media”, it can still scan the drive to recover files.
This tool can recover data from hard drives, USB flash drives, SD cards, and other storage devices. It is capable of restoring multiple file types.
Compared to other data recovery tools, it has a user-friendly interface and a clear workflow, allowing even novice to quickly get started.
The free edition allows you to enjoy 1 GB of file recovery capacity for free. Download and install this free file recovery software now.
MiniTool Power Data Recovery FreeClick to Download100%Clean & Safe
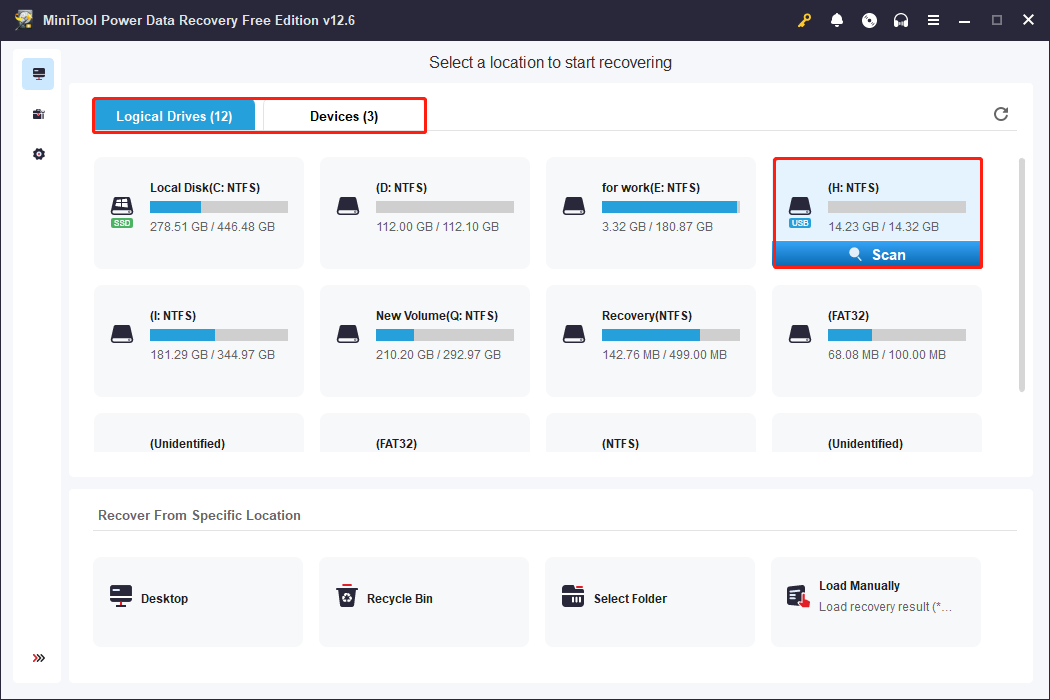
Step 1: Launch the software and scan the target drive
Open MiniTool Power Data Recovery. In the main interface, there are two sections to help you find the target scan location.
- Under Logical Drives, all the partitions are listed, including existing partitions, lost partitions, and unallocated space.
- Under Devices, all the disks connected to your computer are displayed.
Find the drive you want to scan and recover, move the cursor to it, and click Scan.
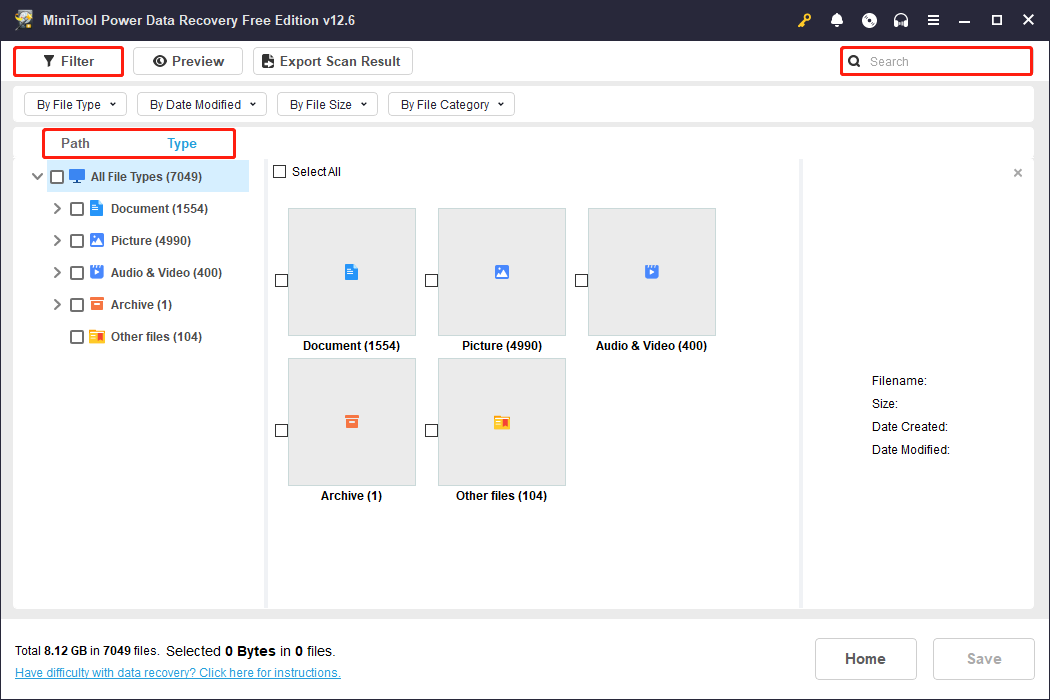
Step 2: Find the target files using Path, Type, Filter, and Search
Wait patiently for the scan to finish. After it ends, search for the target files. In MiniTool Power Data Recovery, Path, Type, Filter, and Search are auxiliary features that help quickly locate recoverable files.
- Path displays the original storage path of the file, helping users browse by folder structure.
- Type categorizes files by type, such as pictures, documents, videos, audio, etc., facilitating searching by content.
- Filter provides four criteria, file type, modification time, file size, and file category, to narrow down the search.
- Search allows you to directly enter the filename or keywords to find the specific file quickly.
Step 3: Check the file content using Preview
MiniTool allows you to preview the file content to ensure accuracy and avoid recovering invalid or corrupted files. Supported file formats include images, documents, videos, and more.
Double-click any located file to launch the preview window and verify its content.
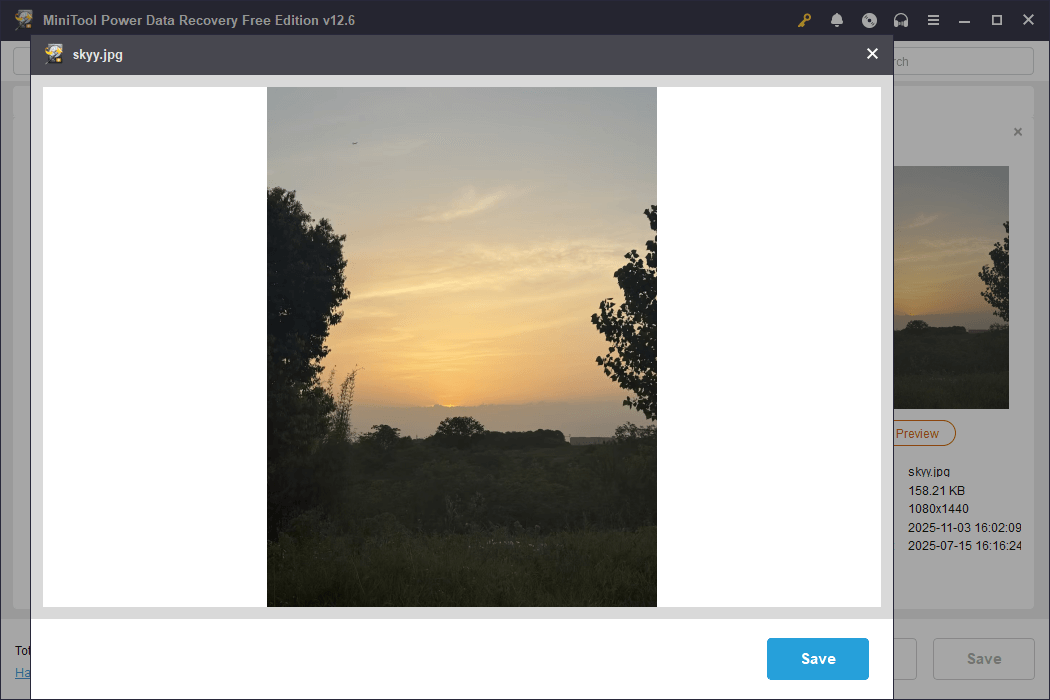
Once you’ve identified the files you want, close the window and proceed with the restoration.
Step 4: Save the files to a new and safe path
Tick the wanted files and click Save. There will be a window prompting you to choose a destination for the recovered files. After choosing a safe path, click OK to start the recovery.
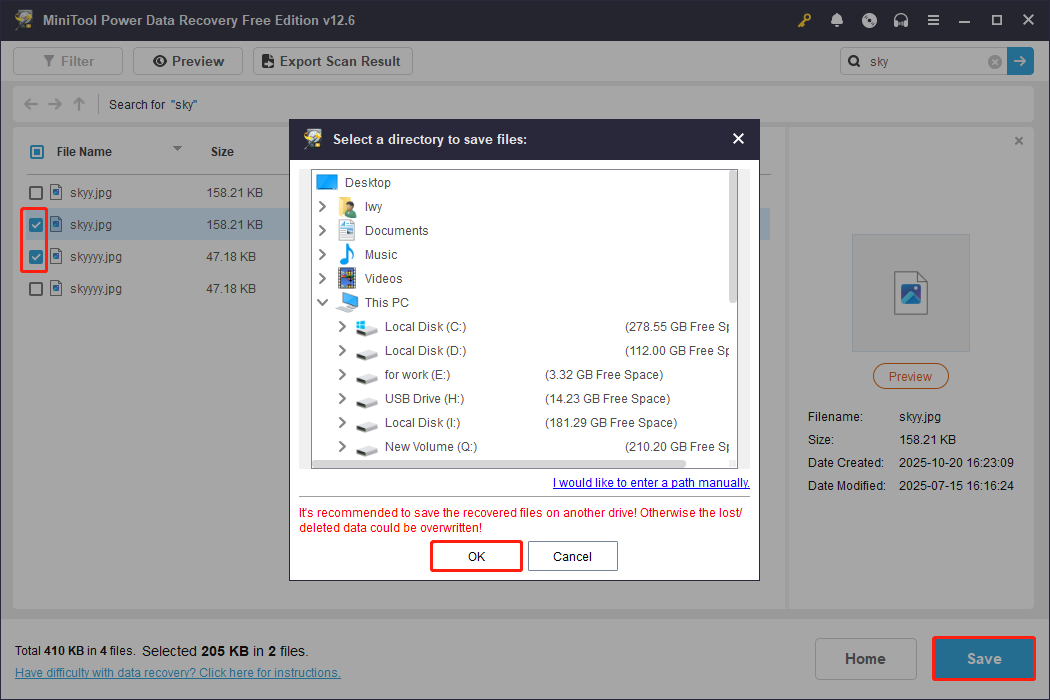
When the Recovery Completed window shows, check your files.
When the files are secure, it’s time to address the problem of “no media in the specified device”.
Part 3. Resolve the Problem of “No Media in the Specified Device”
Here are several ways to fix the problem of “There is no media in the specified device”.
Approach 1: Update or Reinstall the Device Driver
If the driver is corrupted, outdated, or incompatible, the system may fail to recognize the device correctly, resulting in the “no media in the specified device” error.
Updating or reinstalling the driver can fix compatibility issues and restore proper recognition of your drive.
Here is how to update and reinstall your disk driver:
Step 1: Right-click the Windows button and choose Device Manager.
Step 2: Expand Disk drives, right-click the drive, and choose Update driver.
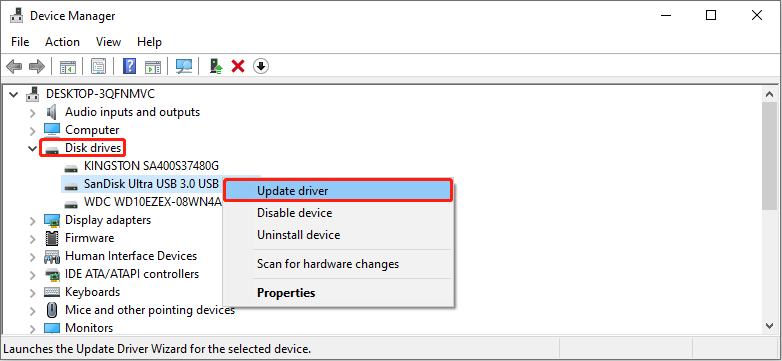
Step 3: In the new window, select Search automatically for drivers.
Windows will begin searching for a suitable driver for the device. If a new driver is found, it will be automatically installed. After the installation completes, restart your computer.
After restarting, reconnect your USB drive or other storage device to see if the “There is no media in the device USB” error still occurs.
If the problem persists, uninstall the device and reinstall it.
Step 1: In Device Manager, expand Disk drives, right-click the drive, and choose Uninstall device.
Step 2: In the pop-up window, click Uninstall to confirm the change.
After uninstallation, restart your computer, and Windows will automatically install the new driver.
Approach 2: Repair the Drive Using a Controller-Specific Tool
Corrupted controller firmware or flash memory recognition failure can also cause this “no media” error.
Controller-specific tools can communicate directly with the controller chip of the storage device to re-identify the NAND flash memory, rebuild the firmware, or perform low-level formatting. This can resolve the “no media” problem.
Here is how to use a controller-specific tool to fix this error:
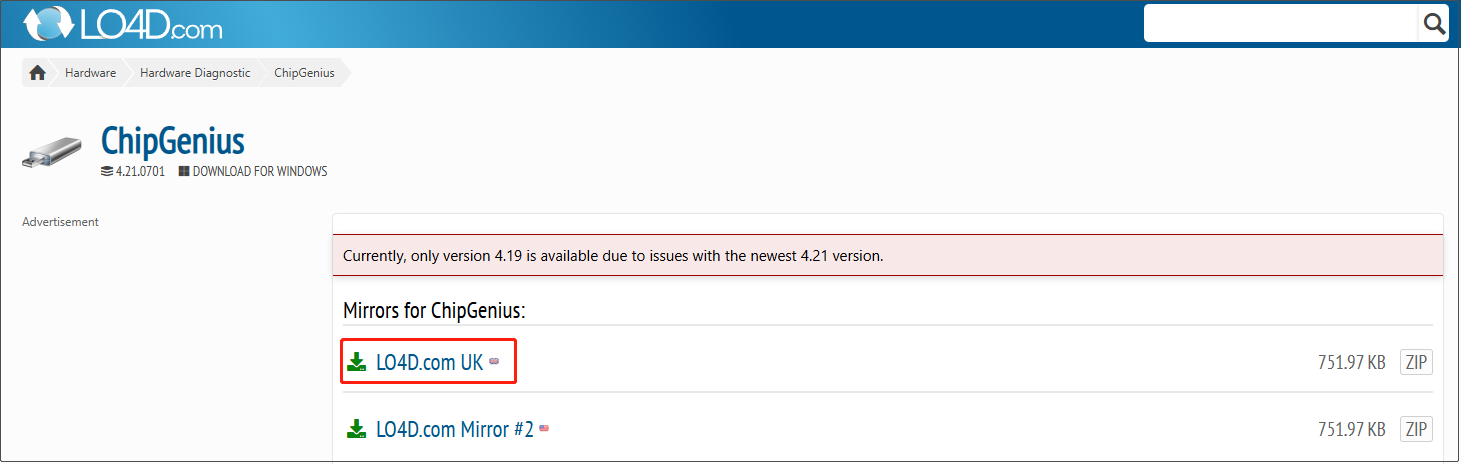
Step 1: Download the ChipGenius tool
Go to the ChipGenius site, click Download for Windows, then select LO4D.com UK > Click here to start the download. This tool can identify the USB drive’s controller model.
Step 2: Check the controller model
After the download completes, insert the USB drive, run the tool, and record the following information:
- Controller vendor
- Controller part-number
Step 3: Download the corresponding mass production tool
Type your drive’s controller vendor and controller part-number together in the browser search box and press Enter.
Open the relevant result page, and then follow the on-screen instructions to download the corresponding mass production tool for your controller model.
Step 4: Repair using the mass production tool
After the download ends, extract the archive, open the folder, and run the .exe file. The tool can recognize devices with “no media”. After confirming everything is correct, click Update or Repair. In the warning box, click OK.
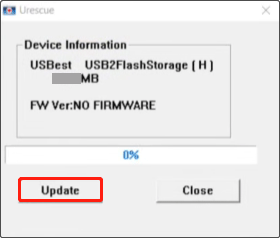
After the repair is complete, a prompt box will appear where you need to click OK. Then reinsert your device to check if the problem has been resolved.
Approach 3: Format the Drive on Mac
According to feedback from several user communities, formatting the USB drive on a Mac has proven effective in resolving this problem. Here are two options for you.
Option 1: Use Disk Utility
Step 1: Launch Utilities and select Disk Utility.
Step 2: In the pop-up window, select your device and click Erase.
Step 3: Name the device and select the format from the Format box.
Step 4: Finally, click Erase to apply the change.
Wait a few seconds to a few minutes, and the disk will be remounted after completion.
Option 2: Use Terminal
Step 1: Press Command + Space, type Terminal, and press Enter.
Step 2: Type diskutil list to list all the disks and find the target disk.
Step 3: Type the following command and press Enter to format it:
diskutil eraseDisk JHFS+ CleanDrive /dev/disk1 (Replace JHFS+ and 1 with your actual file system and disk number)
Wait for the formatting to complete. The Terminal will display the formatting results upon successful completion. Then, run diskutil list again to check the disk status.
Part 4. Take Measures to Protect Your Storage Device
After repairing your device, take some measures to prevent it from being damaged.
1. Properly and safely remove devices
Before removing a USB flash drive, SD card, or external hard drive, always use the Safe Removal function. This ensures all read and write operations are completed, preventing file system corruption.
2. Use reputable brand-name storage devices
Inexpensive or unbranded storage devices may use lower-quality flash memory chips, making them more prone to “no media” errors. Choose products from well-known brands and check user reviews and technical specifications.
3. Check device health regularly
Regularly check the health of your storage devices using disk diagnostic tools to identify potential problems promptly.
4. Back up data regularly
Develop a habit of regularly backing up your data to prevent irrecoverable data loss due to device failure.
Part 5. Conclusion
In a word, when you encounter the problem of “There is no media in the specified device”, recovering data from it is the first step.
When the data is safe, try updating or reinstalling the driver, repairing your drive with a controller-specific tool, or performing a format on Mac to fix the error.
Should you have any questions regarding the MiniTool product, do not hesitate to contact our support team through [email protected].
FAQ About “There Is No Media in the Specified Device”
This error indicates that the system cannot detect valid media for the storage device, potentially due to hardware failure, chip damage, or controller malfunction.
In this situation, the system cannot access the device's underlying structure; therefore, formatting cannot be performed.
DiskPart relies on the device being correctly recognized by the system and having operable media; if the device displays “no media”, this tool will be unable to execute any wipe, format, or partition commands.
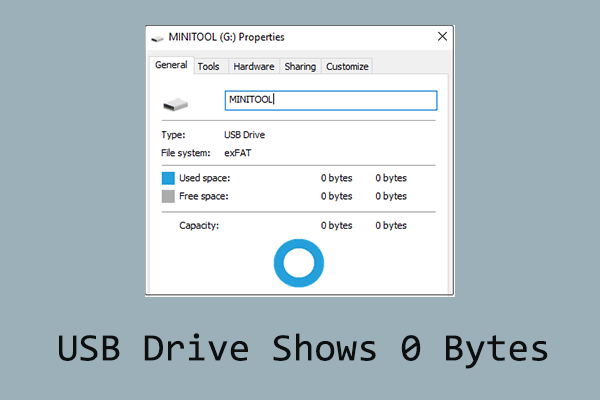
If it still displays “no media” or shows a capacity of 0, it may be due to a problem with the hard drive firmware or controller chip. In this case, use a mass production tool to try rebuilding the firmware or re-identifying the disk structure.
This issue can be caused by factors such as damaged flash memory, controller failure, missing partition table, corrupted file system, or poor card reader contact.
These faults will result in the device being detected but unable to access any data or displaying a capacity of 0.
About The Author

Position: Columnist
Chelsea graduated from university with a major in English. She has a strong interest in English writing. It is this passion for writing that led her to become an English editor. Her articles mainly foucus on data recovery and other computer industry news. As an energetic and outgoing girl, Chelsea enjoys listening to music, singing, riding bikes, and eating in her spare time.
User Comments :