Overview: USB Drive Cannot Be Opened on Windows
As one of the main portable data storage devices, USB drives are widely used in various situations. However, you may encounter a situation that the USB drive cannot be opened on Windows when connecting it to your computer.
Unable to open the USB drive prevents you from accessing or storing data on the USB drive. It is really an annoying experience. Thus, it is necessary to manipulate measures to rescue files from the USB drive and handle the problem effectively.
Cases of Cannot Open a USB Flash Drive
Before continuing with the data recovery guide and repair solutions, you should read this section carefully as Windows cannot access a USB drive in several cases.
>> Case 1. USB Drive Becomes RAW
You cannot open a USB flash drive when it becomes RAW. The computer will ask you to format the USB drive before using it. A problematic file system, damaged partition table, virus attacks, and other causes can lead to a RAW drive.

>> Case 2. The Parameter Is Incorrect
The incorrect parameter is another common error for the case that the USB cannot be opened on Windows. This error can be triggered by bad sectors, wrong file system, bad USB ports, etc. Here is a detailed guide to fix the parameter is incorrect error.
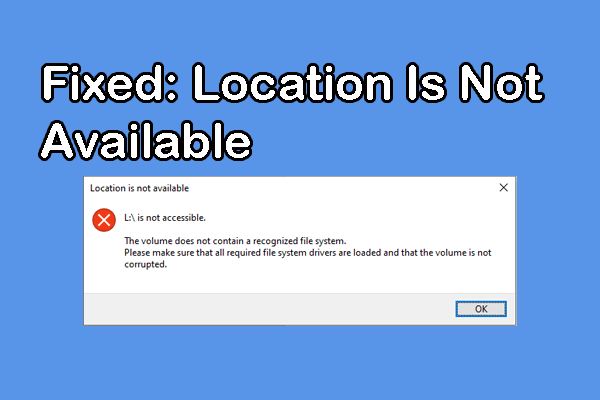
>> Case 3. USB Is Not Accessible with I/O Error
You may be prevented from accessing a USB drive with an I/O error (Input/Output device error). This error happens on diverse data storage media, triggered by broken USB ports, wrong drive letter, problematic USB drive, etc.
>> Case 4. Please Insert a Disk into USB Drive
When Windows cannot access a USB drive properly, you may get an error message like “Please insert a disk into USB drive”. This is possibly because your USB drive doesn’t connect properly or the USB drive is damaged, and the computer fails to recognize it and read its data.
>> Case 5. File or Directory Is Unreadable on USB
This is also a common error that blocks you from accessing the USB drive. Here are four general causes of this error, including corrupted FAT or MFT file, bad sectors, virus infection, and physical damage.
Apart from the above five cases, you may encounter other situations that prevent you from opening the USB drive on Windows. But don’t fret; all those cases can be handled with the corresponding solutions and you can also take measures to protect files stored on the USB drive. Keep reading to dive into solutions.
Step 1. Recover Files from Unopenable USB Drive
When you encounter the USB drive cannot be opened on Windows, the first step should be recovering files from this drive. As some USB repair solutions may cause secondary damage to your files, the saved files may be turned into unrecoverable.
To recover files from a USB drive, you need to find a trustworthy data recovery tool. MiniTool Power Data Recovery is highly recommended. This read-only software causes no damage to your original data and is able to restore files from diverse data loss cases, including an inaccessible USB drive.
Now, you can get this free data recovery software by clicking the download button below to recover files from USB drive that cannot be opened.
MiniTool Power Data Recovery FreeClick to Download100%Clean & Safe
1. Select the USB Partition to Scan
Keep your USB drive connected to the computer and launch the software. On the main interface, you can locate the USB partition that is labeled with a USB mark. Select the partition and click Scan.
Optionally, you can change to the Devices section, where all the detected devices are listed. You can directly select your USB drive and scan the entire drive at once.

2. Pinpoint the Desired Files Using Multiple Functions
In order to obtain the best data scan results, you should wait patiently until the scan process is complete. In case there are numerous files on the result page, how to screen out the target files is the key point.
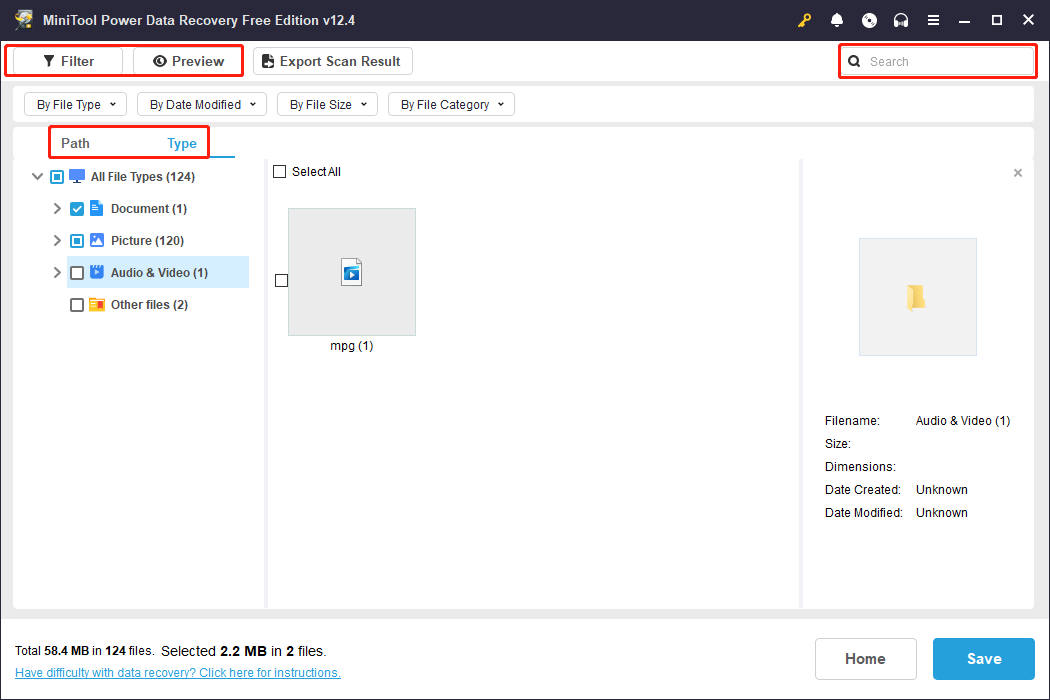
Files on the result page are classified by their original file path. However, expanding folders layer by layer is a tiresome process. You can utilize those functions to find the wanted items effectively:
- Filter: Click on the Filter button at the top toolkit to set some conditions, including file size, file type, file category, and file last modified date.
- Type: Switch to the Type tab enabling you to check files by their types and file formats. When you need to retrieve a certain type of files, this feature matters a lot.
- Search: Type the file name of the target file into the Search box and hit Enter to do a quick match. A partial name, complete name, or even a file extension is OK.
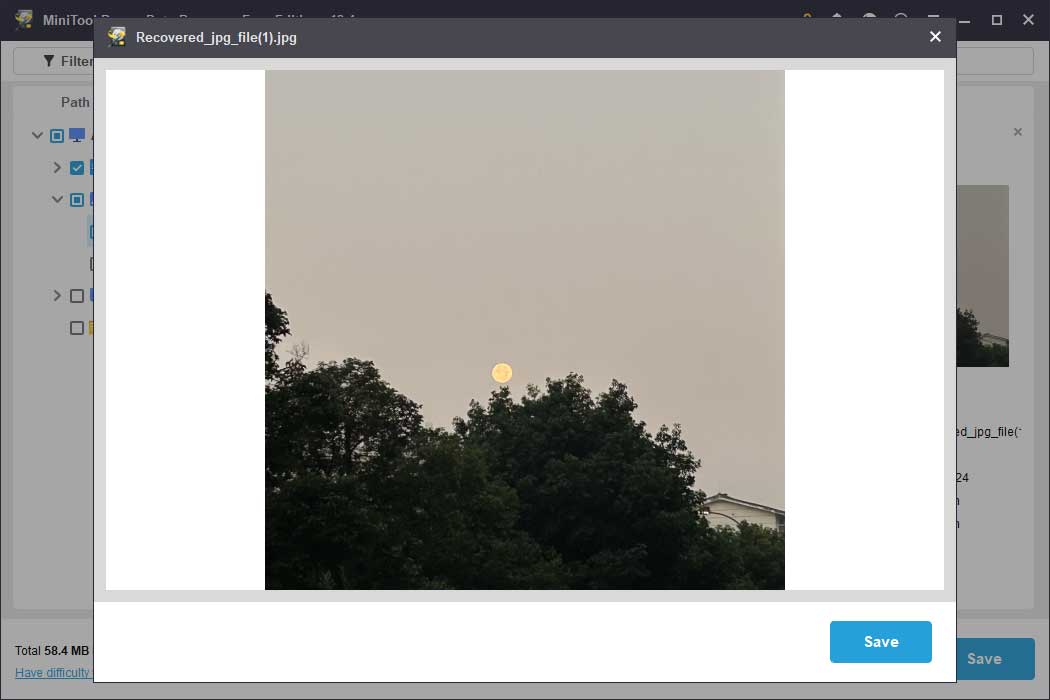
- Preview: Select one file and click the Preview button to verify the file content. This feature enhances the data recovery accuracy by allowing to preview pictures, documents, videos, audio, and other files.
3. Recover Files from the Unopenable USB Drive
Once you discover the desired files, tick them and click the Save button. In the prompt window, you should choose an appropriate file path for the recovered files and click OK to start the USB drive data recovery process. A window will pop up to inform you that the data recovery process is accomplished.

As you are running a free edition of this software, you may get another window when you try to recover more than 1GB of files, showing that the free data recovery capacity runs out. In this case, you should get an advanced edition to break the data recovery limit.
Considering the various requirements of different users, MiniTool Power Data Recovery has multiple editions. Jump to the License Comparison page to obtain the detailed information about each edition.
Step 2. Fix Unable to Access a USB Stick
After you recover files from USB drive that cannot be opened successfully, it is time to fix the inaccessible USB drive. As we stated above, a USB drive cannot be opened on Windows in several cases. Here are several general solutions for those cases. You can keep reading and try them in sequence to find one that works best on your case.
Way 1. Connect the USB Drive to Another Computer
At the very beginning, you can do a simple check by connecting the USB drive to another computer or USB port. You cannot open a USB flash drive when it is broken or connected via a damaged USB port.
After that, you can figure out whether the problem is caused by external factors or else. If you are in the latter case, please continue with the next methods.
Way 2. Change a USB Drive Letter
You may encounter this situation: The USB drive is connected but you cannot find it via File Explorer. Then, you may ask how to open a USB drive. In fact, this is because your USB drive is not assigned with a drive letter properly. Additionally, when the USB drive letter is conflicted with another drive, you will find that the USB drive cannot be opened on Windows as well.
Fortunately, those cases can be tackled easily by assigning a new drive letter for the USB drive. Here is how to do it.
Step 1. Right-click on the Windows icon and choose Disk Management from the WinX menu.
Step 2. Locate your USB drive and right-click on the partition to choose Change Drive Letter and Paths.
Step 3. In the following window, you need to select a proper drive letter for the USB drive and click OK to save the change.
- If your USB drive doesn’t have a drive letter, choose Add and give a new drive letter to your USB drive.
- If your USB drive letter is conflicted with another disk, select Change in the prompt window and choose a new one from the dropdown menu.

Way 3. Reinstall a USB Driver
What if you cannot find the USB drive in Disk Management? If you ensure the connected USB port works properly, think about the USB driver on your computer. An outdated or corrupted USB driver blocks the computer from detecting and reading the USB drive properly. Therefore, you need to reinstall the USB driver to handle this issue.
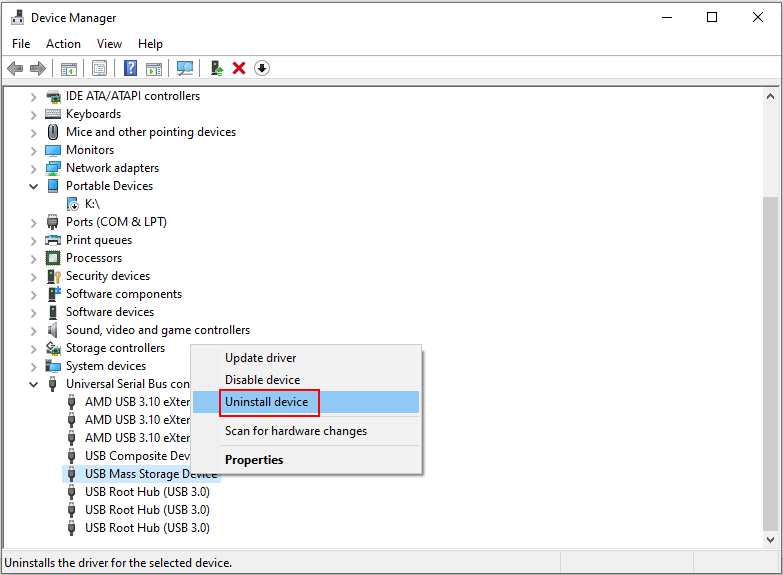
Step 1. Press Win + X and choose Device Manager from the WinX menu.
Step 2. Scroll down to find and expand the Universal Serial Bus controllers option. You need to find the current USB driver, such as the USB Mass Storage Device, and right-click on it to choose Uninstall device.
Step 3. Click Uninstall again to confirm your option.
Afterward, you should remove the USB drive and reconnect it to the computer. The device will be installed automatically. You can now try to access the USB again.
Way 4. Create a New Partition on the USB Drive
After checking the USB ports and device drivers, you should go to the Disk Management utility to verify the disk status of the USB drive. In some cases, your USB drive could lose its partitions; thus, the device becomes inaccessible. To make the USB drive usable, you need to recreate a USB drive.
Recovering data from the unopenable USB drive is necessary before creating a new partition, as a newly created partition may overwrite or damage the stored files on the drive. Please get MiniTool Power Data Recovery and follow the detailed guide in Step 1 to recover files.
MiniTool Power Data Recovery FreeClick to Download100%Clean & Safe
Now, start the partition creation process with the following content.
Step 1. Right-click on the Windows icon and choose Disk Management.
Step 2. Locate your USB drive. If the partition is actually lost, you can right-click on the unallocated space and choose New Simple Volume.
Step 3. Click Next to confirm. In the Partition Wizard windows, you can configure the USB partition with a suitable size, compatible file system, and proper drive letter.
Step 4. Verify all the information on the window and click Finish to confirm.

When the partition is created, open it to access the USB drive.
Way 5. Run the CHKDSK Command Line
Apart from the above issues, the culprit may happen on the USB drive itself. When the USB drive contains bad sectors or doesn’t have an integrity file system, it may fail to be opened properly. However, those errors can be resolved by running the CHKDSK command, a Windows-embedded utility.
Step 1. Press Win + R to access the Run window.
Step 2. Type cmd into the dialog and press Shift + Ctrl + Enter to run Command Prompt as administrator.
Step 3. Type CHKDSK X: /f /r /x and press Enter to execute this command line. You should replace X with the drive letter of the USB drive.

Afterward, you can try to access the USB drive.
Way 6. Format the USB Drive
The last straw to fix unable to access a USB stick is formatting. As formatting is an effective method to fix a majority of logical disk errors, it is an optimal choice when the other ways don’t make sense. After data recovery, there is no need to worry about formatting a problematic USB drive. Here is how to format the problematic USB drive in Disk Management.
Step 1. Press Win + X and choose Disk Management from the WinX menu.
Step 2. Find the USB drive and right-click on the USB partition to choose Format.
Step 3. Select a compatible file system and volume label for the USB partition.
Step 4. Click OK to confirm and start the format process.

Sometimes, you may fail to format the USB drive via the Disk Management. In this case, you need to use a professional USB formatter to complete the format task. MiniTool Partition Wizard is a secure tool to manage your disks, including formatting a partition.
MiniTool Partition Wizard FreeClick to Download100%Clean & Safe
Final Words
This is all about how to recover data from a USB drive and repair it when the USB drive cannot be opened on Windows. For whatever fixes, your data is at risk of suffering secondary damage. You’d better rescue data from the USB drive first. If you have any problem in using MiniTool Power Data Recovery, please tell us via [email protected].
User Comments :